
Why This Method Works
Stumpy Nubs’ approach is a game-changer. The cabinet doors he demonstrates are not only incredibly durable but also timeless in design. Inspired by the Shakers, this style features a subtle 15° bevel on the inner edges of the frame, giving it a refined, professional look that works in both modern and traditional kitchens. And guess what? You only need two router bits to achieve this masterpiece. That’s right—two bits and a bit of know-how, and you’re on your way to creating doors that might outlast your house.

Materials: Save Money Without Sacrificing Quality
Let’s talk materials. While hardwood is a fantastic choice, Stumpy Nubs suggests using clear pine as a cost-effective alternative. Pine is sturdy, easy to work with, and adds character over time as it picks up nicks and dents. If you’re on a tight budget, pine is your friend. Just remember to cut around imperfections if you’re using cheaper, wider boards from the home center.
Getting Started: Measurements and Components
Cabinet doors consist of two main parts: the horizontal rails and the vertical stiles. The outer dimensions of your door depend on your cabinet size. For this example, Stumpy Nubs is crafting a 15.5-inch by 12.5-inch door. Here’s the fun part: measuring the rails. Since the stiles run from top to bottom, their length is obvious. But for the rails, you’ll need to subtract the width of the stiles from the overall door width and add the length of the tenons (those stubby little protrusions on the ends of the rails). Confused? Don’t worry—Stumpy Nubs breaks it down so even a beginner can follow along.
Here’s a Quick Breakdown:
- Stiles: Full height of the door (15.5 inches in this case).
- Rails: Door width minus the width of two stiles plus the length of the tenons.
- Example: For a 12.5-inch-wide door with 1.75-inch stiles and 0.375-inch tenons, each rail would be 9.75 inches long.
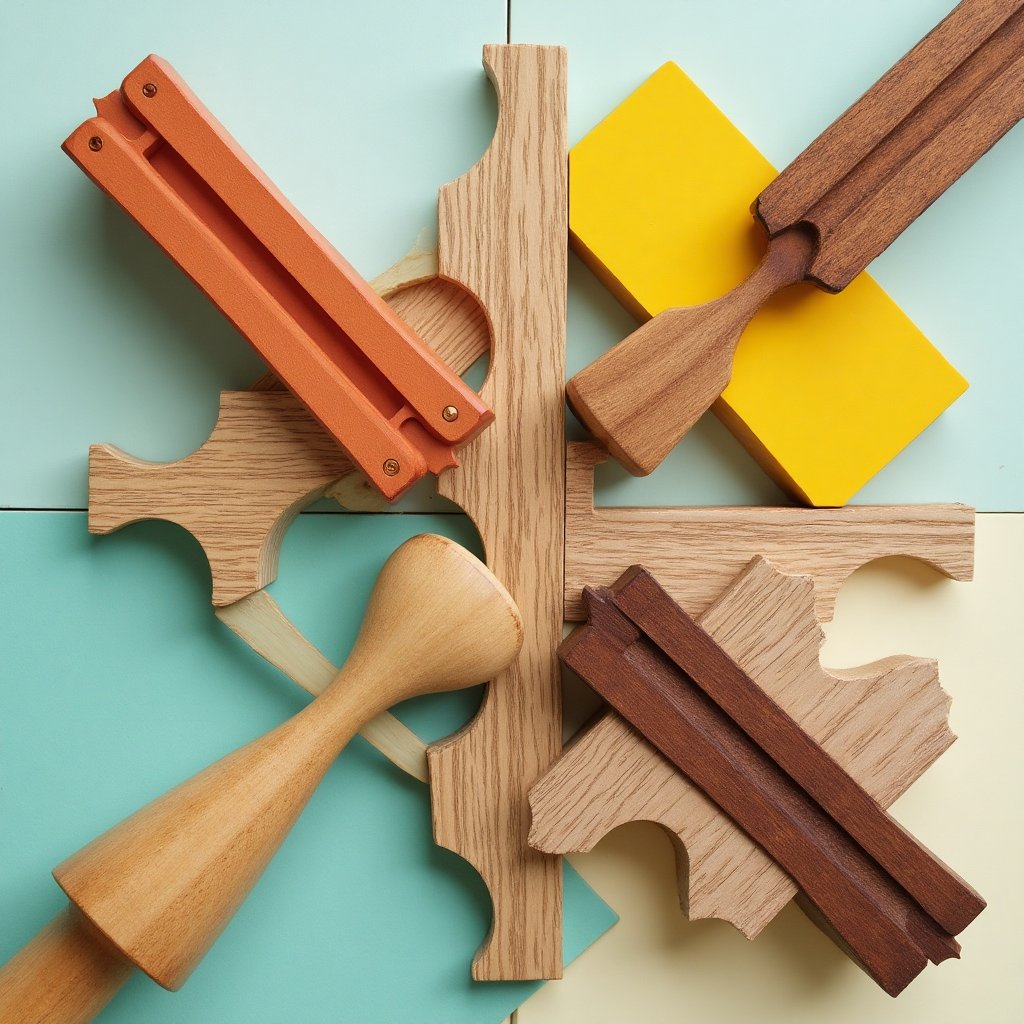
The Real Magic: Router Bits and Techniques
This is where the magic happens. Stumpy Nubs walks you through using two router bits to create perfect, interlocking joints. The coping bit (with a bearing sandwiched between two cutters) is used to create the tenons on the rails. The profile bit (with the bearing on top) is used to shape the edges of the stiles and rails. The key here is setting up your router table correctly. If you don’t have one, Stumpy Nubs has a tutorial on building a cheap homemade router table. Trust me, it’s worth the effort.
Pro Tip:
Use a scrap piece of wood as a stabilizer when cutting the tenons. This keeps the workpiece perpendicular to the fence and prevents splintering. Genius, right?
Center Panel: Stability and Strength
The center panel is the heart of the door, and Stumpy Nubs recommends using half-inch MDF (medium-density fiberboard) for its stability and paintability. To fit the panel into the grooves of the frame, you’ll need to cut a rabbet along its edges. Here’s a clever trick: use the same router bit for both the frame profile and the panel rabbet. This ensures a perfect fit every time. Just make sure to test the fit before gluing everything together—tight joints are good, but you don’t want them too tight.
Assembly: The Final Steps
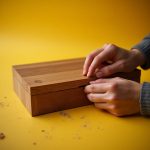
Once all the pieces are cut, it’s time for the dry fit. This is where you’ll see the fruits of your labor. The tenons on the rails should fit snugly into the grooves of the stiles, creating a seamless, professional look. Add a little glue, a coat of paint, and voilà—you’ve built your first cabinet door.
Why This Method Rocks
Stumpy Nubs has tried just about every cabinet door method out there, and this one combines strength, simplicity, and affordability like no other. At less than $5 per door, it’s a budget-friendly option that delivers top-notch results. Plus, the process is so fast and straightforward, you’ll be itching to make more.
The Bigger Picture: Take the First Leap
Building your own kitchen cabinets might seem daunting, but as Stumpy Nubs says, “There’s only one way to eat an elephant: one bite at a time.” Start with a door here, a cabinet box there, and before you know it, you’ll have a custom kitchen that’s uniquely yours. So, what are you waiting for? Grab your router, fire up that table saw, and let’s get building!
Join the iNthacity Community
Loved this article? Want to dive deeper into woodworking, DIY projects, and all things creative? Become part of the iNthacity community today! Apply to become a permanent resident—or even a citizen—of the Shining City on the Web. Share your thoughts in the comments, like, and share this article with fellow woodworking enthusiasts. Let’s build something amazing together!
Thought-Provoking Questions
What’s stopping you from starting your first woodworking project? Have you tried making cabinet doors before? What challenges did you face? Share your experiences and let’s learn from each other!
Wait! There's more...check out our gripping short story that continues the journey: The Timeless Secret

Disclaimer: This article may contain affiliate links. If you click on these links and make a purchase, we may receive a commission at no additional cost to you. Our recommendations and reviews are always independent and objective, aiming to provide you with the best information and resources.
Get Exclusive Stories, Photos, Art & Offers - Subscribe Today!
Related posts:
 Master the Art of Crafting INDESTRUCTIBLE Boxes, Cabinets, and Drawers with Clever IKEA Hacks
 The Hidden DANGER of DIY Wood Countertops: Why IKEA and Other Brands Recommend Professionals
 People Pleasing: Keep It From Making You Miserable
 The Clever 10-Second Woodworking Trick I Use to Impress People with DeWalt Tools
 Trump’s Cabinet Selections: Prioritizing Loyalty Over Experience


Post Comment
You must be logged in to post a comment.