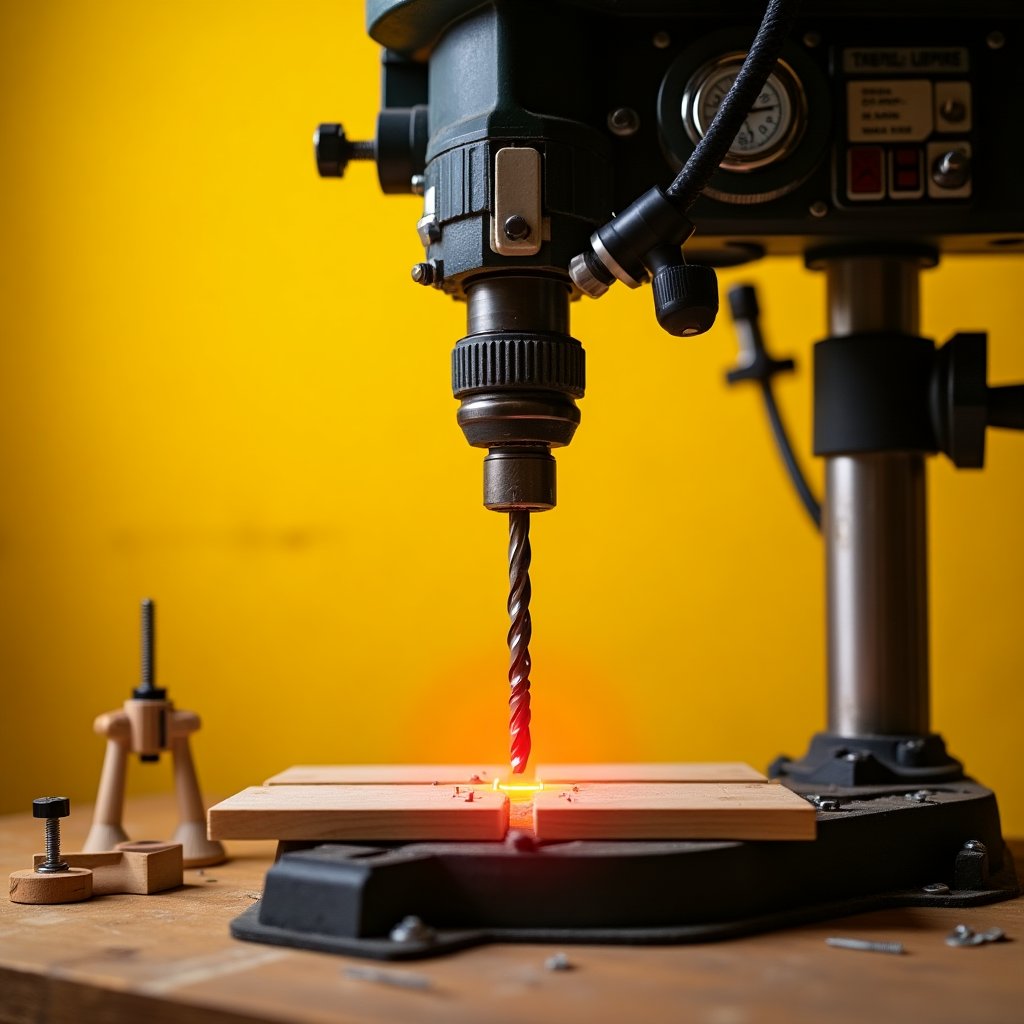
Why a Drill Press is a Woodworker’s Best Friend
A drill press is a game-changer for any workshop. It’s not just about drilling holes with surgical precision; it’s about unlocking a world of possibilities. From mortising to sharpening chisels, this machine can do it all. But, and this is a big but, it’s also a machine that demands respect. Stumpy Nubs (James Hamilton) has seen it all—accidents, close calls, and downright dangerous practices. Let’s start with the basics and work our way up to the jaw-dropping stuff.
Aligning Your Drill Press Table Like a Pro
First things first: alignment is key. A misaligned table can turn your precision tool into a frustration machine. Here’s a nifty trick from Stumpy Nubs himself: grab a stiff piece of wire (an old coat hanger works perfectly) and bend it into a Z-shape. Use this to check if your drill bit is perfectly perpendicular to the table in all directions. If the wire drags evenly around the table’s perimeter, you’re good to go. Simple, right?
The Drill Press is NOT a Router or Milling Machine
Repeat after me: a drill press is not a router or a milling machine. The chuck is connected with a tapered shaft that’s press-fit into the spindle. Applying side loads can cause the chuck to drop out, and trust me, you don’t want a spinning cutter flying toward you. Keep it vertical, keep it safe.
A Magnetic Parts Holder: Your New Best Friend
Ever lost a chuck key or a drill bit in the chaos of your workshop? Enter the magnetic parts holder. Stick it to your drill press column or the side of the head, and you’ve got a quick, convenient spot for all those little essentials. You can find a reliable, inexpensive one here.
Gloves? Absolutely Not!
Here’s a safety tip that might surprise you: gloves are a big no-no at the drill press. It doesn’t take much for a loose string or the tip of a finger to get caught, and before you know it, your hand—or worse, your entire arm—could be wrapped around the spindle. The result? Devastating. Keep your hands bare and safe.
Fences: The Unsung Hero of Precision
Need to drill the same hole in multiple workpieces or create a straight line of holes? A fence is your best bet. A simple strip of wood can serve as a fence, and two fences can securely hold small parts, making your work more accurate and efficient.
Stabilize Your Drill Press
Drill presses are top-heavy, and if they tip over, it’s not going to end well. If possible, secure the base to the floor. If that’s impractical, consider adding some weight to the base to stabilize it. Safety first, always.
Small Object? Use a Wooden Screw Clamp
Handling small objects can be tricky, but a wooden screw clamp is a lifesaver. Its flat surface stabilizes your parts, and adding a second clamp at a 90° angle provides even more support, especially for round objects. You can even attach notched blocks to the jaws for holding small cylindrical objects. Genius, right?
Clamp Down Metal Objects
This one’s a must. If you’re drilling into metal and your bit catches, the object can be wrenched from your grip and spun around like a helicopter. Always clamp down metal objects while drilling. Your wrist will thank you.
Kill Tooling? Not on My Watch
Using too much speed is the quickest way to kill your tooling. Adjust your speed often by changing the belt settings. Larger bits require slower speeds, and your drill press might have a handy chart to guide you. If it doesn’t, we’ve got you covered. Here’s a diagram of different pulley combinations and a chart listing recommended speeds for hard and soft woods. Print it out and keep it in your workshop.
A Drill Press Isn’t Just for Round Holes
Here’s a pro tip: a drill press isn’t just for making round holes. You can use it to remove waste for joinery. Stumpy Nubs uses it for mortises and even half-blind dovetails. Want to learn more? Check out some tutorial links below the video.
Quickly Determine Drill Bit Size
Can’t read the label on your drill bit? No problem. An inexpensive drill gauge is your new best friend. Keep it near your drill press, and you’ll wonder how you ever lived without it. Find one here.
The Coolest Drill Press Trick You’ll Ever See
Ready for the grand finale? Here’s one of the coolest things you can do with a drill press: sharpen a chisel in seconds. Yes, seconds. Stumpy Nubs demonstrates this with a couple of acrylic discs—one with 80-grit sandpaper and another with 220-grit sandpaper and a leather strap. A simple wooden jig keeps the chisel aligned and at the proper angle. Want to try it yourself? Get the plans and all the tools you need here.
Why This Works So Well
The secret sauce? Sandpaper covered with tiny, precisely shaped ceramic pyramids. They cut and shave material more efficiently, build up less heat, and stay sharp longer. For routine sharpening, you only need one grit and the strap. That’s about 20 seconds, and you’re back to work. Give it a try—you’ll be amazed.
![hqdefault WARNING: Internet Drill Press Trend Using [Brand Name] Tools Can SERIOUSLY Hurt You! Stay Safe!](https://i.ytimg.com/vi/-CesXinMZOo/hqdefault.jpg)
Join the iNthacity Community
So, what’s your favorite drill press tip or trick? Have you tried any of these methods? Share your thoughts in the comments below! Join the iNthacity community by becoming a permanent resident of our Shining City on the Web. Like, share, and participate in the debate. Let’s make woodworking safer, smarter, and more fun together!
Wait! There's more...check out our gripping short story that continues the journey: The Craftsman of the New Frontier
![story_1737518770_file WARNING: Internet Drill Press Trend Using [Brand Name] Tools Can SERIOUSLY Hurt You! Stay Safe!](https://www.inthacity.com/blog/wp-content/uploads/2025/01/story_1737518770_file.jpeg)
Disclaimer: This article may contain affiliate links. If you click on these links and make a purchase, we may receive a commission at no additional cost to you. Our recommendations and reviews are always independent and objective, aiming to provide you with the best information and resources.
Get Exclusive Stories, Photos, Art & Offers - Subscribe Today!
Related posts:
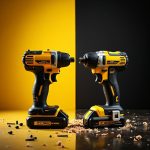 The End of the Cordless Drill Era: Why Dewalt and Other Brands Are Revolutionizing Power Tools
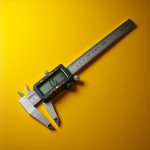 Discover Why Vernier Scales by [Brand Name] Are AMAZING Precision Tools!
 Must-Watch Guide: Safety Tips Before Letting Your Child Use DeWalt Tools or Any Brand
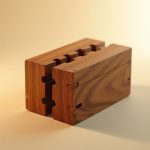 This Clever Box Will Challenge and Hurt Your Brain in Unexpected Ways
 Avoid the Terrible Minwax Sanding Wood Trend: Protect Your Floors and Surfaces


Post Comment
You must be logged in to post a comment.