Sanding is one of those woodworking tasks that can make or break your project. It’s surprising how many misconceptions exist about this fundamental skill. Whether you’re a seasoned woodworker or a beginner, understanding the nuances of sanding can save you time, frustration, and—most importantly—your project. Let’s dive into the world of sanding, debunk some myths, and share some game-changing tips that’ll make your woodworking projects shine.
Why Sanding Matters More Than You Think
Sanding is the unsung hero of woodworking. It’s the difference between a project that looks handmade and one that looks professional. Yet, so many woodworkers underestimate its importance. Have you ever applied a finish, only to see swirls, scratches, and imperfections magnified? That’s where sanding comes in. But here’s the kicker: sanding isn’t just about smoothing the surface; it’s about preparing it for the finish.
And speaking of finishes, if you’re looking for detailed plans to take your woodworking to the next level, check out Ted's Best Woodworking Plans. These plans are perfect for both beginners and experienced woodworkers.
The Power Sanding Myth
Let’s start with a common misconception: power sanding. Yes, it’s a fast and efficient way to smooth out surfaces, but it’s not the be-all and end-all. In fact, relying solely on power sanding can lead to visible imperfections in your finished project. Here’s why: power sanders can leave behind swirls and pigtail scratches that become glaringly obvious once you apply your finish. The solution? Always finish with hand sanding, moving with the grain to blend any remaining scratches into the natural texture of the wood.
Think about it: would you rather spend a few extra minutes hand sanding or regret your project once it’s finished? Exactly.
The Flat Surface Fallacy
Here’s another myth that needs busting: the idea that every surface needs to be dead flat. Wood is a living, breathing material—even after it’s been cut. It expands and contracts with changes in humidity, so even if you’ve perfectly flattened a board with a jointer and thickness planer, it’s unlikely to stay that way. By the time you cut your joinery and assemble your project, that flat surface might not be so flat anymore.
Here’s where some woodworkers get it wrong: they argue that a rigid sanding block is essential for final hand sanding to restore flatness. But the truth is, unless you’re working on a tabletop with an ultra-high-gloss finish that’s always under raking light, minor variations won’t be noticeable. So, why waste time and elbow grease trying to achieve a level of flatness that nature is just going to undo?
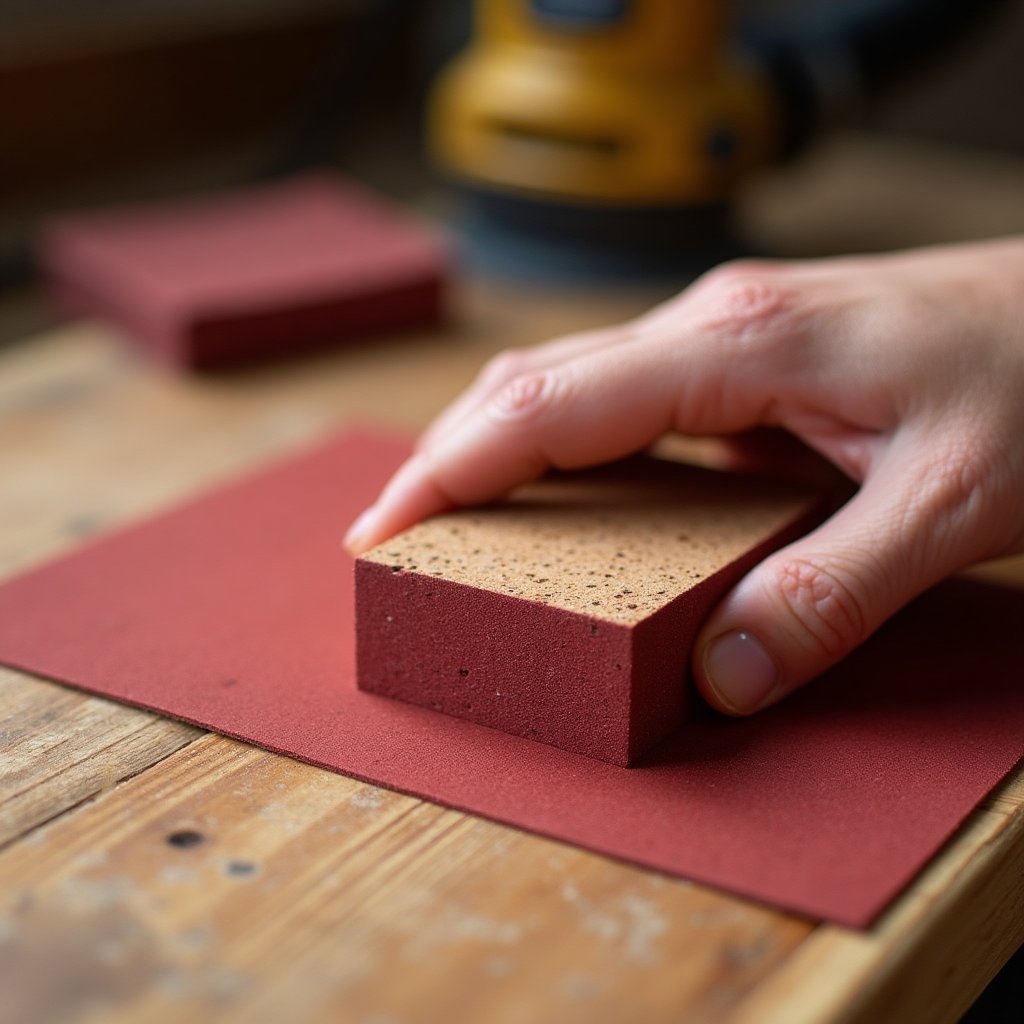
The Cork Sanding Block Secret
Instead of a rigid sanding block, consider using a cork sanding block. Cork is firm enough to keep the surface reasonably flat but soft enough to adapt to minor variations. Plus, it’s dirt cheap. Seriously, cork yoga blocks, which you can find for as little as 10 bucks each, can be cut into multiple sanding blocks. I’ve been using adhesive-backed sandpaper from Amazon.ca with my cork blocks, and it’s a game-changer. It’s comfortable, effective, and affordable—what more could you ask for?
And don’t forget the yoga mat tip: place a yoga mat on your bench to keep your workpiece from sliding around while you’re power sanding. It’s a small trick that makes a big difference.
When to Use Rigid Sanding Blocks
Now, this isn’t to say that rigid sanding blocks don’t have a place in your workshop. They’re essential for squaring edges, fine-tuning joinery, and getting those perfect miters. For example, if you’re gluing several boards together to make a panel, a rigid sanding block can ensure that the edges are perfectly straight and square, eliminating gaps in your seams.
I’ve been using Duragrit True Sander Blocks for almost a decade now, and I can’t recommend them enough. They’re covered in carbide grit, which lasts for years, and they come in four different grits. Start with the 120-grit block—it’s the most versatile—and you’ll see why I eventually got all four.
Making a Shooting Board for Sanding
One of my favorite tools is the shooting board, which guides a rigid sanding block to trim pieces by hand. It’s incredibly versatile: you can square ends at 90 degrees or hone a perfect 45-degree angle. It’s portable, easy to use, and perfect for fine-tuning trim work. I made a video about it a few years ago, which I’ll link to below if you’re interested.

Final Thoughts: Embrace the Sanding Process
Sanding might not be the most glamorous part of woodworking, but it’s one of the most important. By understanding when to use power sanding, hand sanding, and rigid vs. cork sanding blocks, you can elevate your projects to a new level. And remember, it’s not just about the tools; it’s about the process.
So, what’s your sanding strategy? Do you swear by rigid blocks, or are you a cork convert? Share your thoughts in the comments below and let’s get a conversation going. And if you’re ready to take your woodworking to the next level, don’t forget to check out Ted's Best Woodworking Plans.
Become part of the iNthacity community, the Shining City on the Web, by subscribing to our newsletter, and join fellow woodworkers who are passionate about their craft. Like, share, and participate in the debate—we’d love to hear from you!
Wait! There's more...check out our gripping short story that continues the journey: Nebula Station

Disclaimer: This article may contain affiliate links. If you click on these links and make a purchase, we may receive a commission at no additional cost to you. Our recommendations and reviews are always independent and objective, aiming to provide you with the best information and resources.
Get Exclusive Stories, Photos, Art & Offers - Subscribe Today!
Related posts:
 5 Reasons Why Your Polyurethane Finish is Bumpy and How Minwax Can Help Fix It
 Discover How I Never Pay for Wood Again: Ultimate Free Wood Guide
 Most Don’t Even Know They Have One! – A Dangerous Table Saw Idea You Should Avoid with DeWalt Safety Tips
 WARNING: Internet Drill Press Trend Using [Brand Name] Tools Can SERIOUSLY Hurt You! Stay Safe!
 Experience the Revolutionary 2-Minute Wood Finish by [Brand Name] – Like Nothing You’ve Ever Seen!


Post Comment
You must be logged in to post a comment.