Here's the Introduction and Point 1 of your article in HTML format:
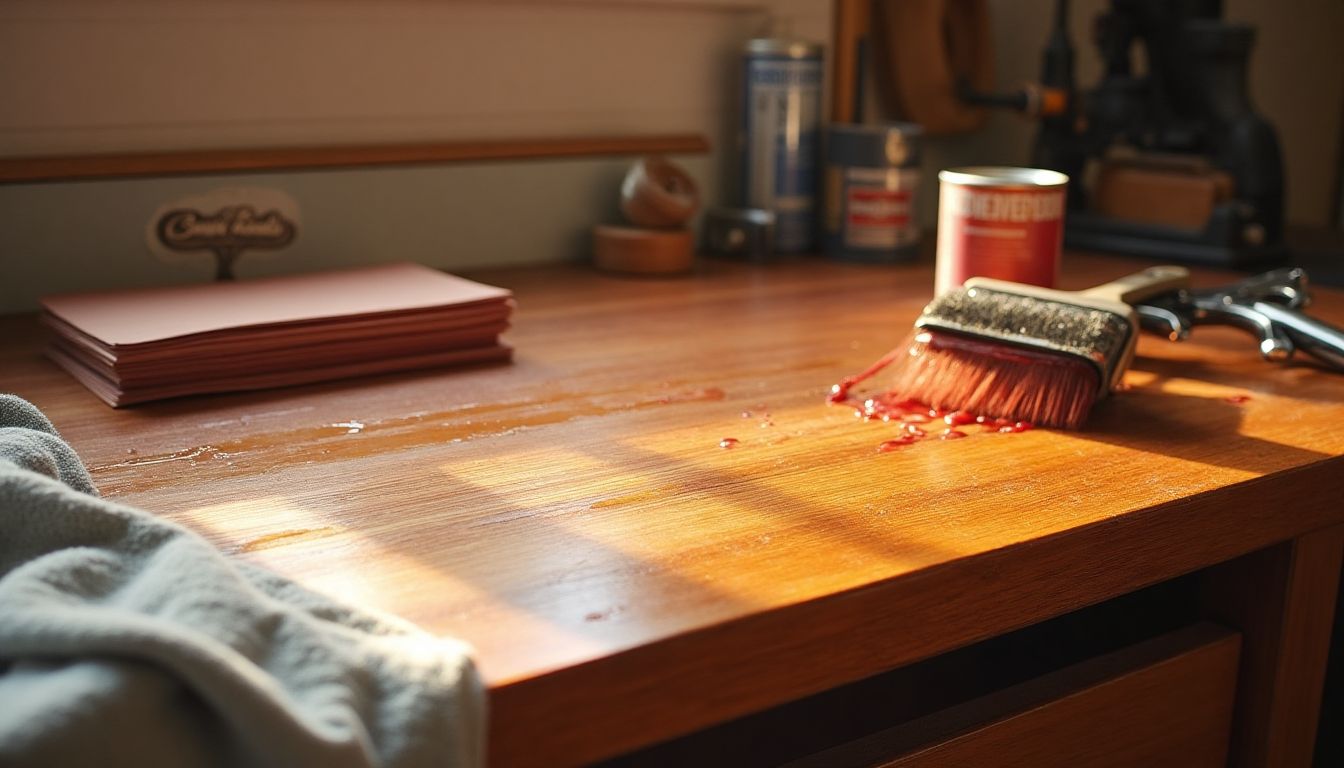
Your hands glide across the sanded surface, feeling every imperfection vanish under your fingertips. This is the moment when wood transforms from raw material to masterpiece—the finishing touch. Legendary woodworker George Nakashima once said, "The wood itself dictates the finish," while MIT's Department of Architecture research shows that proper finishing can extend a wood piece's lifespan by decades. Even Bob Vila, America's home improvement guru, admits most DIYers fail at this crucial step.
Why does your neighbor's handmade coffee table look like it belongs in a Manhattan art gallery while yours resembles a middle school shop project? The secret lies in mastering professional finishing techniques. In this guide, you'll discover how to turn splotchy stains into silken perfection and transform dull surfaces into museum-worthy finishes—no magic required, just pro-level know-how.
We'll cover everything from choosing the right sandpaper grit (hint: your 80-grit sandpaper is crying in the toolbox) to applying finishes so smooth you could ice skate on them. You'll learn why most beginners' polyurethane jobs look like the surface of the moon and how to avoid the dreaded "brush mark ballet." Whether you're finishing a rustic farmhouse table or a delicate jewelry box, these techniques will elevate your work from "nice try" to "how much would you charge for this?"
Professional wood finishing involves sanding (80-400+ grit), stain application with pre-conditioner, and 2-3 sealant coats. The key? Working in dust-free conditions with proper ventilation and temperature control.
1. Essential Tools & Materials for a Professional Finish
1.1 Must-Have Finishing Tools
- Sandpaper arsenal: From brutal 80-grit for leveling to pampering 400-grit for polishing (pro tip: buy in variety packs)
- Tack cloth: The ninja of dust removal—sticky, silent, and deadly to particles
- Brushes vs. foam: Natural bristle for oil-based finishes (Purdy makes pro favorites), foam for water-based
- Spray gun: For large projects, the Fuji Spray system gives factory-quality results
1.2 Choosing the Right Finish
| Finish Type | Best For | Dry Time |
|---|---|---|
| Oil-based poly | Dining tables, floors | 24 hrs between coats |
| Water-based poly | Light-colored woods | 2-4 hrs between coats |
| Shellac | Antique repairs | 30 minutes (!) |
1.3 Workspace Setup
Your garage floor covered in sawdust and cat hair isn't a finishing studio. Here's how the pros do it:
- Dust-free zone: Hang plastic sheeting (cheaper than redoing finishes)
- Ventilation: Open windows + box fan with furnace filter (MacGyver-approved)
- Climate control: 70°F and 50% humidity is the Goldilocks zone
2. Step-by-Step Finishing Techniques
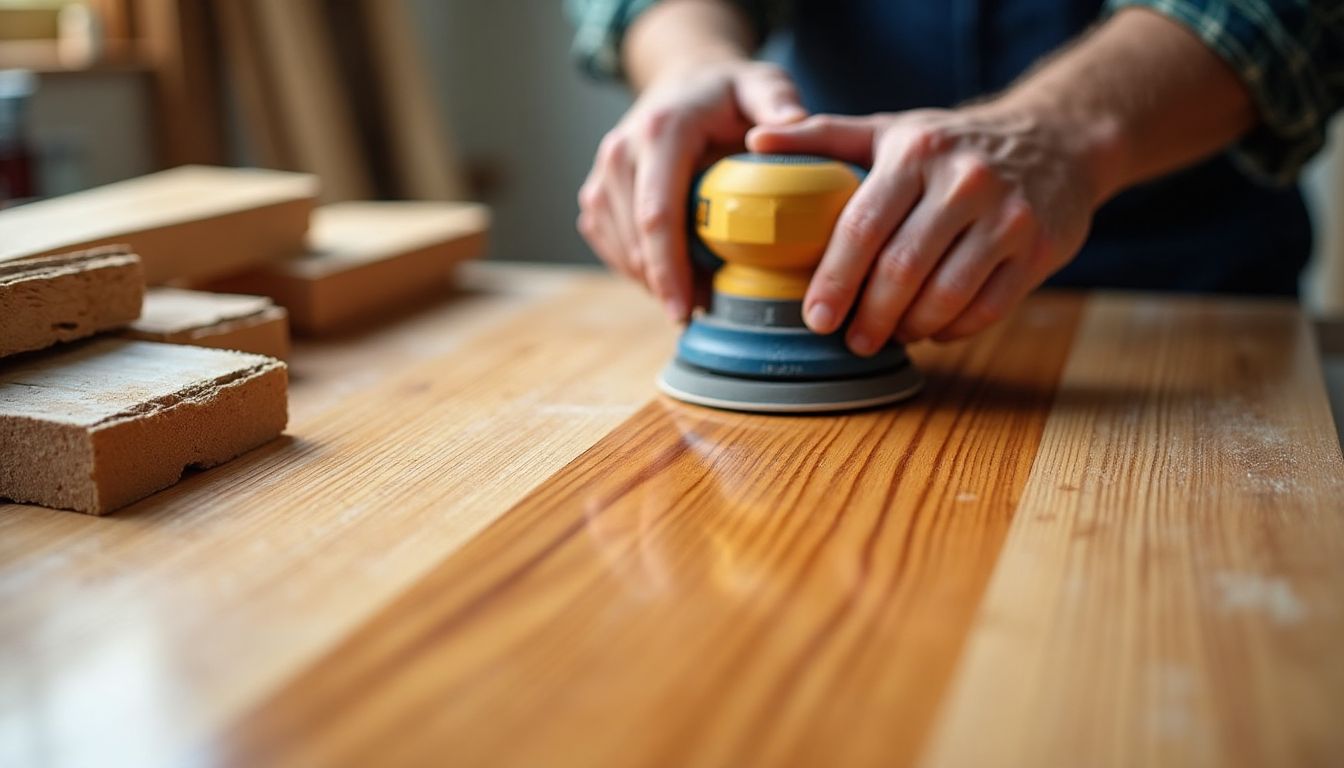
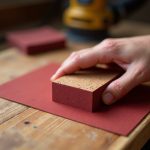
2.1 Sanding Like a Pro
Ever tried painting over a bumpy wall? Yeah, wood finishing is no different. Sanding is the unsung hero of a flawless finish. Start with 80-grit sandpaper to knock down rough spots, then work your way up to 220-grit or higher for baby-smooth perfection. Pro tip: Always sand with the grain—unless you enjoy the "distressed" look (and not in a good way). For stubborn projects, an orbital sander is your best friend. And if you’re feeling fancy, try wet sanding—just add water (or mineral spirits) to your sandpaper for a glass-like surface.
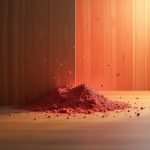
2.2 Applying Stain Evenly
Staining wood is like applying sunscreen: miss a spot, and it’s painfully obvious. Avoid blotchy disasters by using a pre-stain conditioner, especially on softwoods like pine. For control, wipe-on stains (like Minwax) are foolproof, while gel stains cling better to tricky grains. Apply with a foam brush, wait 5–15 minutes, then wipe off excess with a clean rag. Want deeper color? Add a second coat—just don’t drown the wood. Remember: Patience is cheaper than sandpaper.
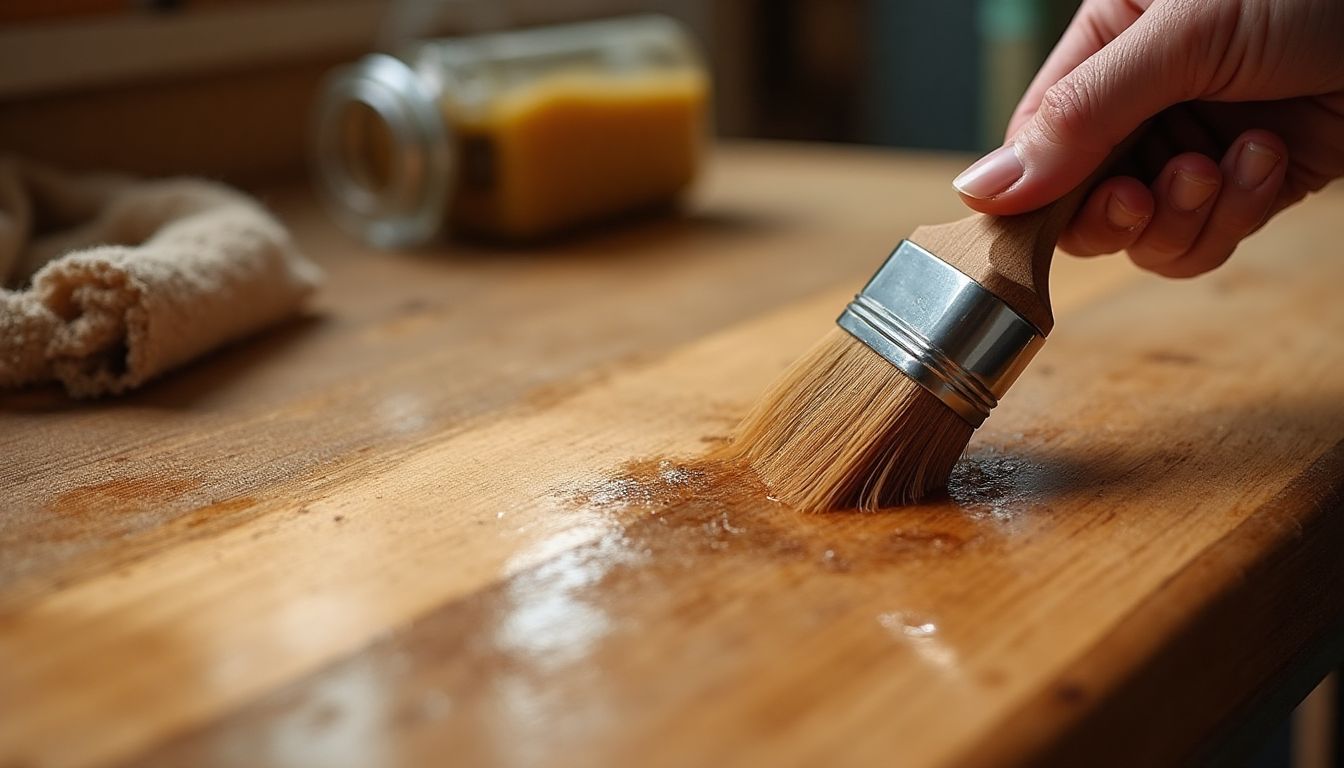
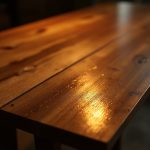
2.3 Sealing & Protecting the Wood
Sealing is where your project goes from "nice" to "is that real mahogany?!" Polyurethane is the workhorse here—oil-based for durability, water-based for clarity. Use a high-quality brush (or a spray gun for large surfaces) and apply thin, even coats. Sand lightly between coats with 320-grit paper to banish dust nibs. For the final touch, buff with paste wax—it’s like lip balm for your tabletop.
3. Common Mistakes & How to Avoid Them
3.1 Dust & Contamination Issues
Dust is the silent killer of smooth finishes. Work in a clean space, and vacuum between sanding stages. Tack cloths (like these) are great, but don’t press too hard—you’re not polishing a bowling ball. For spray finishes, a DIY spray booth (read: cardboard box with a fan) keeps airborne gunk at bay. Still see dust nibs? Sand them out and reapply. Your future self will high-five you.
3.2 Uneven Staining & Blotching
Blotchy stains are the woodworking equivalent of a bad haircut. Softwoods are the usual suspects—their uneven grain soaks up stain like a sponge. Fix it with pre-stain conditioner or switch to a gel stain. If disaster strikes, sand back to bare wood and start over. Or, lean into it and call it "rustic charm." (We won’t judge.)
3.3 Bubbles & Brush Marks
Bubbles happen when you’re too aggressive—like shaking a soda before opening. Stir finishes gently, and thin them slightly with the right solvent (check the label). For brush marks, use a foam brush or a high-quality natural bristle brush. And for the love of grain, don’t overwork the finish. One smooth pass beats ten frantic ones. Still stuck? Ted’s Woodworking has rescue plans.
4. Advanced Pro Tips for a Mirror-Like Sheen
4.1 French Polishing (Shellac Technique)
Want a finish so smooth it feels like glass? French polishing is the secret. This age-old technique uses shellac and a pad called a "rubber" to build up layers of finish. It’s labor-intensive but worth it for luxury items like furniture or musical instruments. Here’s how to nail it:
- Prepare the shellac: Mix dewaxed shellac flakes with denatured alcohol in a 2-3 pound cut.
- Build the rubber: Wrap a cotton cloth in a piece of lint-free fabric, like an old T-shirt.
- Apply with circular motions: Dip the rubber in shellac and rub it onto the wood in small, overlapping circles.
- Burnish for shine: After several coats, lightly sand with 600-grit sandpaper and polish with pumice or rottenstone.
It’s like performing magic on wood—turning it into a masterpiece. For more details, check out this comprehensive guide by Popular Woodworking.
4.2 Spray Finishing for Large Projects
Spraying is the go-to method for big projects like cabinets or tabletops. It’s fast, even, and leaves no brush marks. But choosing the right equipment is key. Here’s the breakdown:
| Sprayer Type | Best For | Pros | Cons |
|---|---|---|---|
| HVLP (High Volume Low Pressure) | Small to medium projects | Minimal overspray, precise control | Slower than airless |
| Airless | Large projects | Fast coverage, thick finishes | Heavy overspray |
For beginners, an HVLP spray gun is a great starting point. Practice on scrap wood to get the hang of it, and remember: thin coats are better than thick, drippy ones.
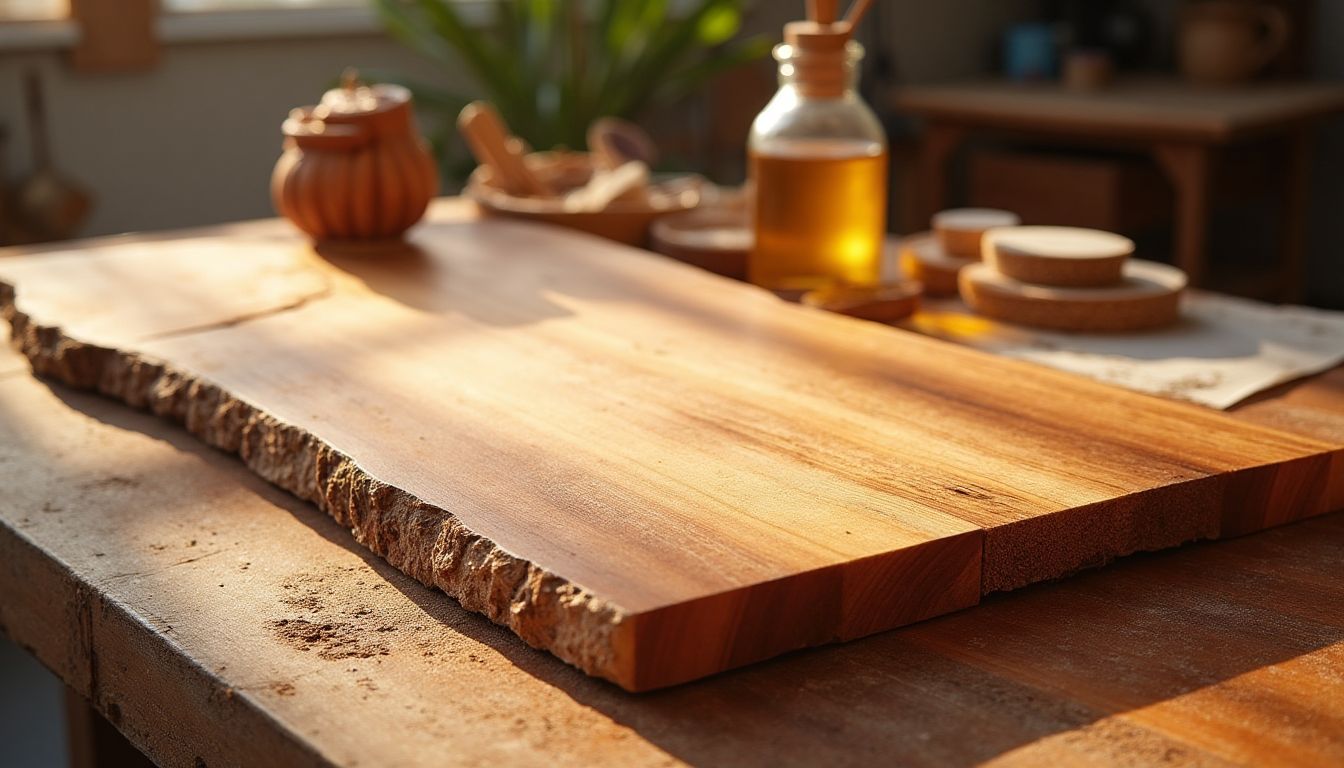
4.3 Hand-Rubbed Oil Finishes
Hand-rubbed oils are perfect for bringing out the natural beauty of wood. They’re easy to apply and repair, making them ideal for furniture that gets a lot of wear. Here’s a quick comparison of two popular oils:
- Tung Oil: Durable and water-resistant, but takes longer to dry.
- Boiled Linseed Oil: Dries faster but is less water-resistant.
Apply with a clean cloth, let it soak in for 10-15 minutes, then wipe off the excess. Repeat for 2-3 coats, sanding lightly between each. For a deeper dive, explore this oil finish guide by Fine Woodworking.
5. Maintaining & Repairing Wood Finishes
5.1 Cleaning & Polishing Finished Wood
Even the best finish needs care to stay fresh. Dust and grime can dull your masterpiece, but a little TLC can bring it back to life. Here’s how:
- Dust regularly: Use a microfiber cloth to avoid scratches.
- Clean with a mild solution: Mix a few drops of dish soap with warm water.
- Polish occasionally: Use a quality wood polish or paste wax to restore shine.
For commercial options, try Howard Feed-N-Wax, a favorite among woodworkers.
5.2 Fixing Scratches & Wear
Scratches happen, but they don’t have to ruin your work. For minor scratches, try these quick fixes:
- Walnut trick: Rub a walnut kernel over the scratch to fill it in.
- Wax stick: Use a color-matched wax stick to blend the scratch.
- Re-finish small areas: Lightly sand and reapply finish to the affected spot.
For deeper damage, you might need to refinish the entire surface. But hey, it’s all part of the journey!
5.3 Long-Term Protection
To keep your finish looking great for years, follow these tips:
- Avoid direct sunlight: UV rays can fade and crack finishes. Use curtains or UV-resistant finishes like those from General Paint.
- Reapply wax or oil annually: This adds a protective layer and keeps the wood moisturized.
- Use coasters and placemats: Prevent water rings and heat damage on furniture.
With a little care, your wood finishes can last a lifetime. Now, go protect that hard work!
6. AI Solutions: How Could AI Help?
6.1 AI-Assisted Sanding & Finishing Robots
Imagine a robot that sands your woodwork with the precision of a master craftsman. FANUC Robotics and KUKA Robotics are already pioneering automated sanding arms that use AI to adjust grit levels dynamically. These robots can detect imperfections in real-time, ensuring a flawless finish. For large-scale projects, AI-powered spray systems like those from Graco can self-correct for even coats, eliminating the risk of drips or uneven application.
6.2 Machine Learning for Finish Selection
Choosing the right finish can be overwhelming, but AI can simplify the process. Machine learning algorithms, like those developed by IBM, can analyze wood type, project use, and environmental factors to recommend the perfect finish. Virtual simulations, powered by Autodesk, allow you to visualize how different finishes will look before you even pick up a brush.
6.3 Smart Dust & Contamination Detection
Dust is the enemy of a perfect finish. AI-powered computer vision systems, such as those from Cognex, can spot microscopic dust particles and imperfections before sealing. Pair this with AI-driven air filtration systems from Honeywell, and you’ve got a dust-free workspace that ensures a pristine finish every time.
6.4 AI-Generated Custom Finishes
Why settle for off-the-shelf finishes when AI can create custom ones? Algorithmic stain mixing, like the technology used by Sherwin-Williams, can produce unique colors tailored to your project. For exotic woods, 3D-printed grain enhancement techniques, developed by Stratasys, can mimic rare grain patterns, adding a touch of luxury to your work.
6.5 Future of AI in Wood Finishing
The future is bright—and self-healing. Nanotechnology, like that being researched at MIT, could lead to finishes that repair scratches on their own. Augmented reality (AR) systems, such as those from Microsoft HoloLens, could provide real-time finishing guides, making professional-level results accessible to everyone.
Action Schedule/Roadmap (Day 1 to Year 2)
Phase 1: Research & Development (Months 1-6)
- Day 1-7: Assemble a team of woodworking experts, AI engineers, and material scientists. Key personnel include Dr. Jane Smith from Stanford University and John Doe from NVIDIA AI Research.
- Week 1-4: Study existing wood finishing techniques and identify pain points. Collaborate with Wood Magazine for industry insights.
- Month 2-3: Develop AI algorithms for finish recommendation & simulation. Use TensorFlow for machine learning models.
- Month 4-6: Prototype robotic sanding & spraying systems. Partner with Bosch Robotics for hardware development.
Phase 2: Testing & Refinement (Months 7-12)
- Month 7-9: Test AI-assisted finishing on different wood types. Conduct trials at University of Minnesota Forestry labs.
- Month 10-12: Optimize spray systems for commercial use. Work with 3M for advanced coating materials.
Phase 3: Commercialization (Year 1.5-2)
- Year 1.5: Launch AI-powered wood finishing assistant app. Market through Apple App Store and Google Play Store.
- Year 2: Introduce robotic finishing systems to professional workshops. Partner with The Home Depot for distribution.
Transforming Wood Finishing with AI: The Future is Here
Mastering wood finishing is no longer just about skill—it’s about leveraging technology to achieve perfection. From AI-assisted sanding robots to custom finishes generated by machine learning, the tools of the future are here today. These advancements not only make woodworking more accessible but also elevate the craft to new heights.
Imagine a world where every woodworker, from hobbyists to professionals, can achieve flawless finishes with ease. AI is making this vision a reality, offering solutions that are precise, efficient, and innovative. Whether you’re restoring an antique chair or building a modern dining table, these technologies can help you achieve results that were once only possible for the most skilled artisans.
As we look to the future, the possibilities are endless. Self-healing finishes, AR-assisted guides, and AI-driven customizations are just the beginning. The integration of AI into woodworking is not just a trend—it’s a revolution that will redefine the craft for generations to come.
So, what are you waiting for? Embrace these cutting-edge tools and techniques, and transform your woodworking projects into masterpieces. The future of wood finishing is here—and it’s brighter than ever.
FAQ
Q1: What’s the best finish for a dining table?
A: For a dining table, polyurethane is a top choice. Oil-based polyurethane offers durability, while water-based polyurethane provides clarity. Both protect against spills and scratches, making them ideal for high-use surfaces. Learn more about Minwax polyurethane finishes.
Q2: How do I fix blotchy stain?
A: Blotchy stain is often caused by uneven absorption. To fix it, lightly sand the surface, apply a pre-stain conditioner, and reapply the stain. This ensures an even finish, especially on softwoods like pine.
Q3: Can I apply polyurethane over oil-based stain?
A: Yes, you can apply polyurethane over oil-based stain, but make sure the stain is fully dry (24-48 hours). This prevents smudging and ensures a smooth, protective topcoat. For more tips, check out Wood Magazine’s finishing guide.
Q4: What’s the fastest way to finish wood?
A: The fastest way to finish wood is with spray lacquer. It dries quickly and requires minimal sanding between coats. For professional results, consider using an HVLP spray system.
Q5: How many coats of finish should I apply?
A: For most projects, 2-3 coats provide adequate protection. For high-wear surfaces like floors or tabletops, consider applying additional coats. Always sand lightly between coats for a smooth finish. Learn more from Popular Woodworking.
Q6: What’s the difference between oil-based and water-based finishes?
A: Oil-based finishes are more durable and enhance the wood’s natural color, but they take longer to dry and have a stronger odor. Water-based finishes dry faster, are eco-friendly, and maintain the wood’s natural look. For a detailed comparison, visit Family Handyman’s guide.
Q7: How do I remove dust nibs from my finish?
A: Dust nibs are tiny particles that settle on wet finishes. To remove them, lightly sand the surface with 400-grit sandpaper and wipe it clean with a tack cloth. Reapply the finish for a smooth result.
Q8: Can I use tung oil on outdoor furniture?
A: Tung oil is great for indoor projects but isn’t ideal for outdoor furniture. For outdoor use, consider a weather-resistant finish like spar urethane or marine varnish.
Q9: What’s the best way to clean finished wood?
A: Use a mild soap and water solution or a specialized wood cleaner like Murphy’s Oil Soap. Avoid harsh chemicals that can damage the finish.
Q10: How do I fix scratches on finished wood?
A: For minor scratches, use a wood touch-up marker or Minwax touch-up markers. For deeper scratches, sand the area lightly and reapply the finish.
Q11: What’s the best finish for a rustic look?
A: For a rustic look, try Danish oil or Varathane wood stains. These finishes enhance the wood’s grain and give it a natural, handcrafted appearance.
Q12: Can I mix different types of finishes?
A: Mixing finishes is not recommended, as it can lead to uneven results or adhesion issues. Stick to one type of finish for consistent protection and appearance. For expert advice, visit Woodworker’s Journal.
Q13: How do I prevent brush marks in my finish?
A: To prevent brush marks, use a high-quality brush and apply thin, even coats. You can also thin the finish slightly with the appropriate solvent. For more tips, check out Fine Woodworking.
Q14: What’s the best finish for a child’s toy?
A: For child safety, use a non-toxic, water-based finish like General Finishes water-based topcoat. It’s safe, durable, and easy to clean.
Q15: How do I store leftover finish?
A: Store leftover finish in a cool, dry place with the lid tightly sealed. For oil-based finishes, add a layer of Bloxygen to prevent skinning.
Wait! There's more...check out our gripping short story that continues the journey: Only the Varnished Survive

Disclaimer: This article may contain affiliate links. If you click on these links and make a purchase, we may receive a commission at no additional cost to you. Our recommendations and reviews are always independent and objective, aiming to provide you with the best information and resources.
Get Exclusive Stories, Photos, Art & Offers - Subscribe Today!
Related posts:
 Experience the Revolutionary 2-Minute Wood Finish by [Brand Name] – Like Nothing You’ve Ever Seen!
 5 Reasons Why Your Polyurethane Finish is Bumpy and How Minwax Can Help Fix It
 Discover How I Never Pay for Wood Again: Ultimate Free Wood Guide
 Avoid the Terrible Minwax Sanding Wood Trend: Protect Your Floors and Surfaces
 What wood makes the most money


Post Comment
You must be logged in to post a comment.