If you've ever tried to edge glue several boards together to create a wider panel, you know the struggle. Keeping that panel flat while the glue dries can feel like wrestling an octopus. But fear not! Stumpy Nubs (James Hamilton), the woodworking wizard behind the Stumpy Nubs YouTube Channel, has some game-changing tips that will make your glue-ups smoother than a freshly sanded board. In this article, we’ll dive into his methods, tools, and tricks to help you achieve professional-level results every time.
Why Edge Gluing is a Pain (and How to Fix It)
Edge gluing is one of those woodworking tasks that seems simple until you actually try it. The goal is to create a seamless, flat panel, but the reality often involves warped boards, uneven seams, and glue squeeze-out everywhere. Stumpy Nubs has been there, done that, and he’s got the sawdust-covered T-shirt to prove it. Over the years, he’s developed some ingenious methods to make edge gluing not just easier, but downright enjoyable.
Custom Cauls: Your Secret Weapon
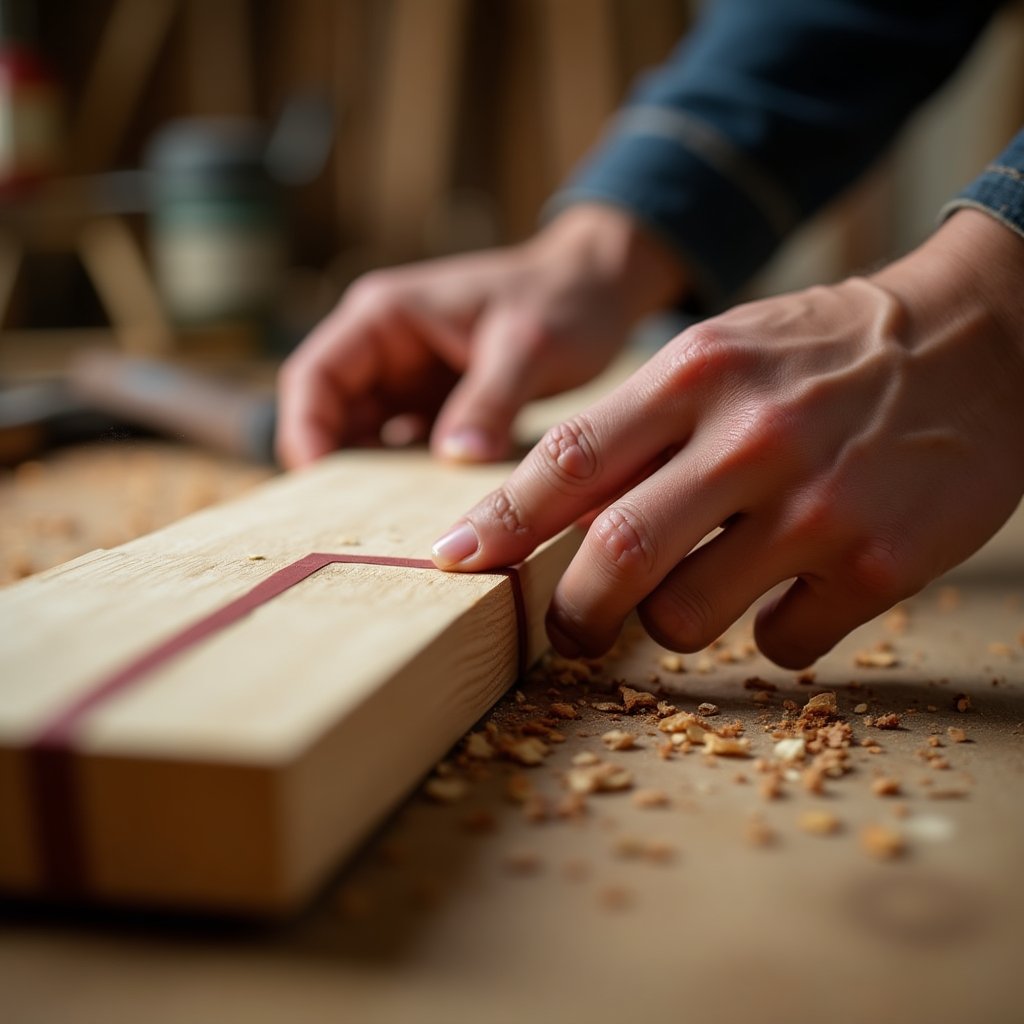
One of Stumpy Nubs’ top tips is to create custom cauls for your panels. Cauls are essentially strips of wood that help keep your boards aligned and flat during glue-ups. Here’s how to make them:
- Start with two strips of wood about 3 inches wide (or slightly narrower if you’re using hardwood).
- Lay out your boards as you intend to glue them and mark the location of each seam on the cauls.
- Use a 1-inch Forstner bit or hole saw to bore holes down the center of each caul at the marked points.
- Rip each caul into two pieces, doubling your number of cauls.
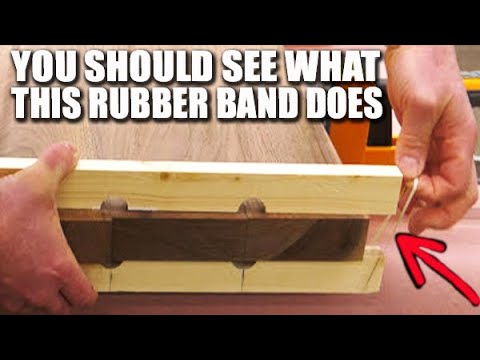
Now, here’s the magic: when you apply light clamping pressure, align each seam at its center. Since boards aren’t perfectly flat, getting the entire seam aligned from end to end can be tricky. But by focusing on the center and using the cauls to handle the ends, you’ll achieve a flush, professional finish. Stumpy Nubs even uses rubber bands to hold the cauls in place while clamping—genius, right?
Curved Cauls for Larger Panels
For larger panels, like table tops or countertops, you’ll need a different approach. Stumpy Nubs recommends creating curved cauls to maintain even pressure across the entire panel. Here’s how:
- Cut a few strips of wood about 2 inches wide and 6 inches longer than your panel’s width.
- Mark where the edge of the panel will fall on the cauls.
- Apply strips of blue tape to create an arc, gradually making the caul thicker toward the center.
This curved edge ensures that as you apply clamping pressure, the center of the panel stays flat. For really wide panels, like dining tables, you’ll need thicker cauls (think 2x4s) and a more dramatic arc. Instead of using tape, Stumpy Nubs suggests cutting the arc directly into the caul using a bandsaw, jigsaw, or belt sander. Pro tip: apply clear packaging tape or paste wax to the caul’s edge to prevent it from sticking to the glue.
Tools of the Trade
Stumpy Nubs swears by a few key tools to make edge gluing a breeze. Here’s his must-have list:
| Tool | Why You Need It |
|---|---|
| Forstner Bit Set | Perfect for boring clean, flat-bottomed holes in your cauls. |
| Rubber Bands | Keeps cauls in place while clamping—simple but effective. |
| Blue Painter’s Tape | Creates the perfect arc for curved cauls. |
| Bandsaw | Essential for cutting precise arcs in thicker cauls. |
Why This Matters
Edge gluing isn’t just about making pretty panels—it’s about control, precision, and craftsmanship. When you master these techniques, you’re not just building furniture; you’re creating heirlooms. You’re taking control of your woodworking destiny, one seamless panel at a time. And let’s be honest, there’s something deeply satisfying about seeing a perfectly flat, glue-free panel come out of the clamps. It’s like solving a puzzle, only better because you get to sit on it afterward.
Watch Stumpy Nubs in Action
Want to see these tips in action? Check out Stumpy Nubs’ original video below. Trust me, it’s worth the watch.
Join the iNthacity Community
Feeling inspired? Ready to take your woodworking skills to the next level? Join the iNthacity community, the "Shining City on the Web," where woodworkers, makers, and dreamers come together to share ideas, tips, and stories. Apply to become a permanent resident (or even a citizen!) and be part of something bigger. Like, share, and comment below—let’s start a conversation. What’s your biggest edge gluing challenge? What tips have worked for you? Let’s hear it!
Final Thoughts
Edge gluing doesn’t have to be a headache. With Stumpy Nubs’ tips and a little practice, you’ll be turning out flawless panels like a pro. So grab those scraps, fire up the bandsaw, and get to work. Your next masterpiece is waiting.
And remember, woodworking isn’t just about the end product—it’s about the journey. So take a deep breath, put on your favorite tunes (with ISOtunes Bluetooth Earbuds, of course), and enjoy the process. Because at the end of the day, it’s not just about building furniture. It’s about building a life you love.
What’s your favorite woodworking hack? Share it in the comments below and let’s keep the conversation going!
Wait! There's more...check out our gripping short story that continues the journey: The Artisan's Legacy

Disclaimer: This article may contain affiliate links. If you click on these links and make a purchase, we may receive a commission at no additional cost to you. Our recommendations and reviews are always independent and objective, aiming to provide you with the best information and resources.
Get Exclusive Stories, Photos, Art & Offers - Subscribe Today!
Related posts:
 Must-Watch Guide: Safety Tips Before Letting Your Child Use DeWalt Tools or Any Brand
 The Clever 10-Second Woodworking Trick I Use to Impress People with DeWalt Tools
 10 Ways to Get BANNED from a Woodworking Shop Forever: Avoid These Mistakes with DeWalt Tools
 Most Don’t Even Know They Have One! – A Dangerous Table Saw Idea You Should Avoid with DeWalt Safety Tips
 When DeWalt Table Saw Safety Goes Too Far: Essential Tips and Insights


Post Comment
You must be logged in to post a comment.