If you’ve ever used a miter saw, you know it’s one of the most essential tools in any woodworker’s arsenal. But here’s the kicker: there’s a good chance you’re using it wrong—or at least not as safely or efficiently as you could be. In this article, we’ll dive into four game-changing miter saw tips straight from Stumpy Nubs (James Hamilton), a Canadian woodworking guru with decades of experience. These tips aren’t just helpful—they’re potentially life-saving. Trust me, by the end of this, you’ll be wondering why these aren’t included in every miter saw manual.
1. The Stop Block Hack: Measure Like a Pro
Let’s start with one of the most clever tricks in the book. If you’re making multiple cuts of the same length, you probably use a stop block. But here’s the million-dollar question: how do you position that stop block accurately? Most folks measure from the outside of a saw blade tooth, but there’s a better way—courtesy of the old-school radial arm saw masters.
Clamp down a scrap piece of wood and make a shallow cut into it—just enough to mark where the kerf (the cut made by the blade) will fall. Now, hook the end of your tape measure into that kerf. Boom! You’ve got a precise reference point for your stop block. It’s simple, fast, and ridiculously accurate. Why isn’t this in every miter saw manual? Beats me.
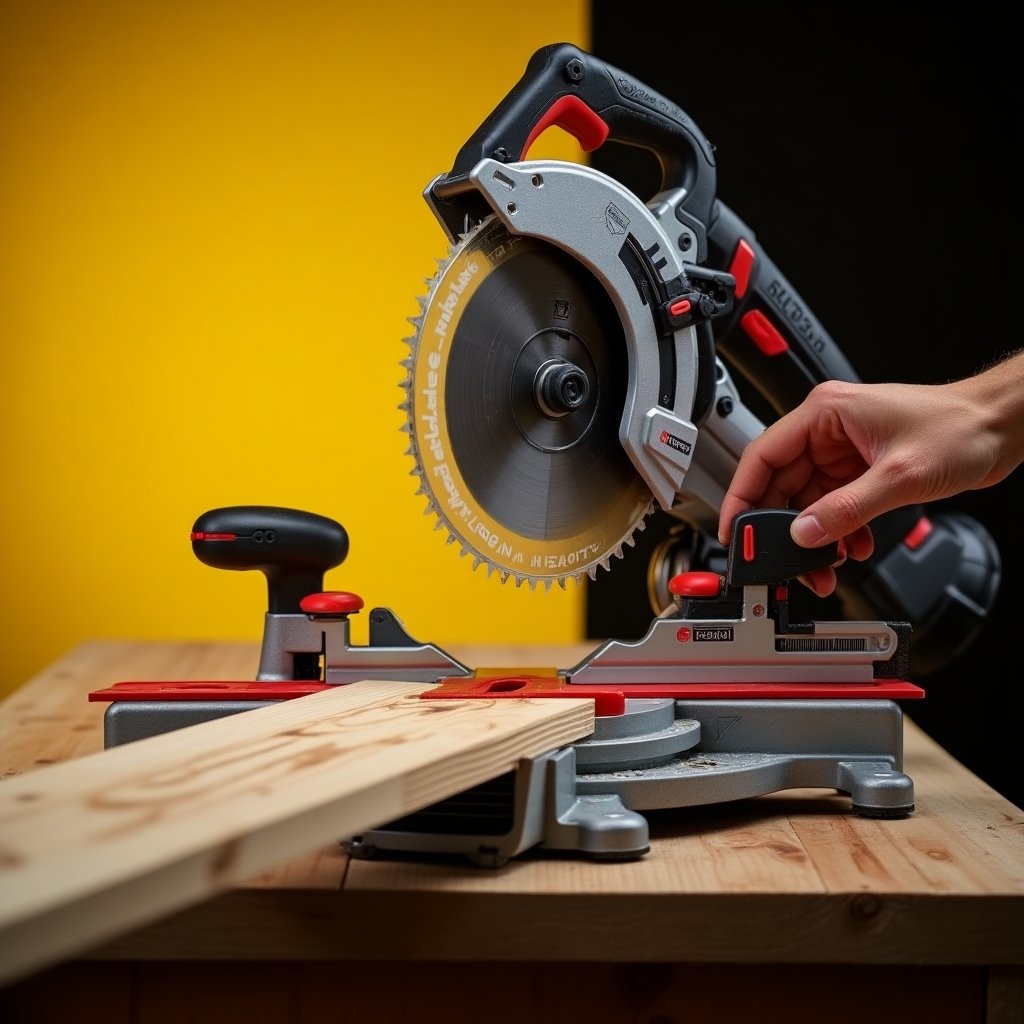
2. Sliding Miter Saws: The Right Way to Cut
Here’s a common mistake I see all the time: people lower the sliding miter saw blade into the wood and then pull it toward themselves. Stop. Just stop. This is called a climb cut, and it’s a recipe for disaster. The blade’s teeth are rotating downward onto the wood, which can cause the saw to lurch toward you—and your fingers. Yikes.
The correct way? Pull the saw forward above the workpiece, lower it down into the wood, and make your cut by pushing the saw away from you. This ensures the teeth pull the blade downward into the cut, not upward. Some folks argue this can lift the workpiece or cause chip-out, but honestly, those are minor issues compared to the risk of a runaway saw blade. Plus, using a sharp blade like the ones from Ridge Carbide can make all the difference.
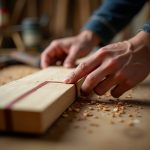
3. Cutting Warped or Rough Lumber: Don’t Risk It
If you’re working with boards that aren’t perfectly flat or straight, using a miter saw can be downright dangerous. The blade can bind in the wood, causing violent kickback. So what’s the solution? For rough or warped lumber, ditch the miter saw and opt for a handheld circular saw or jigsaw instead. Let gravity do the work by cutting the board off the edge of your bench or sawhorse. This way, the weight of the board will open the curve as it falls away.
If you must use a miter saw, try “curing” the cut. Make multiple shallow passes, gradually cutting deeper with each pass. This technique reduces the risk of binding and kickback, especially with thick or internally stressed wood. It’s a lifesaver—literally.
4. The Ultimate Safety Tip: Protect Your Fingers
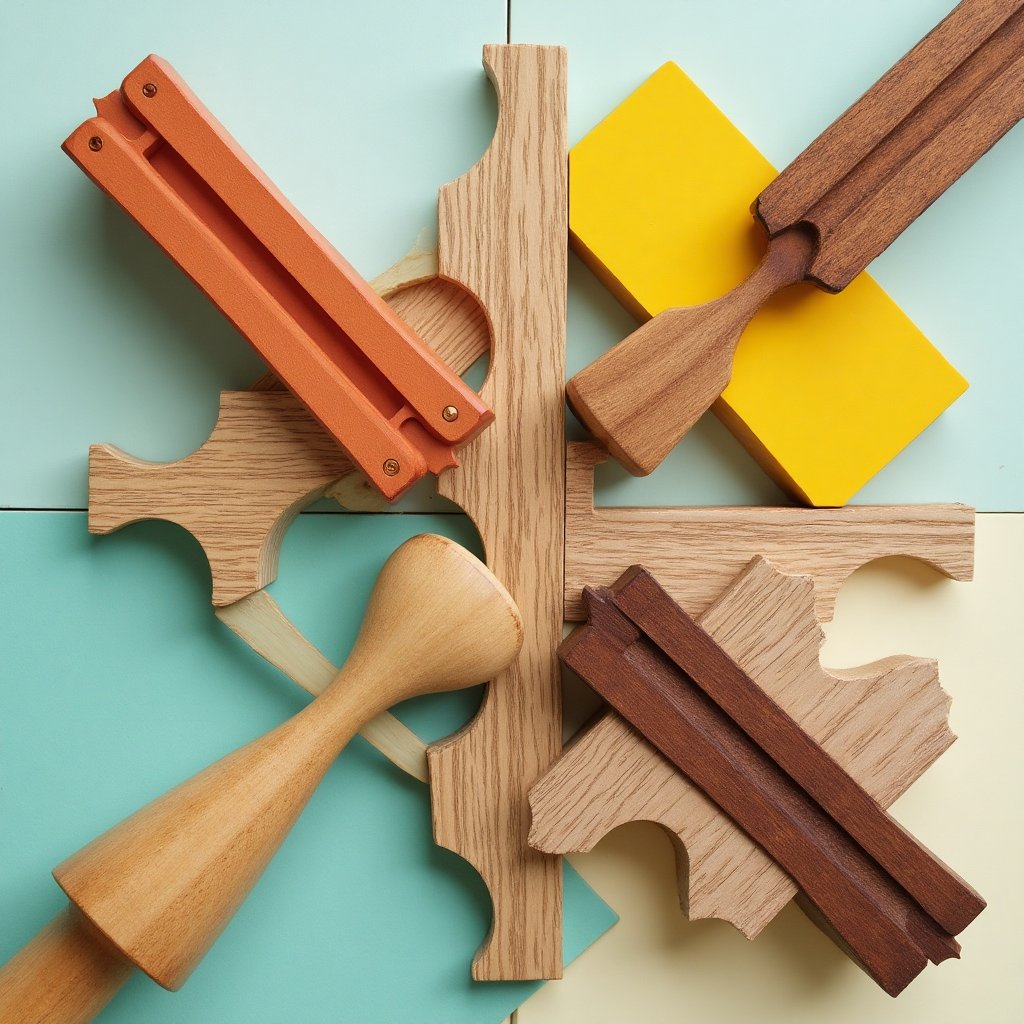
Here’s the most critical tip of all, and it’s one that could save your fingers. Cutting small workpieces on a miter saw is incredibly risky. If the blade catches, it can pull the piece—and your hand—into the blade faster than you can blink. The solution? A specially designed holding stick.
This nifty tool keeps small pieces firmly against both the table and the fence. The grippy knobs and forked end make it stable and easy to use in either direction. Seriously, this is the most important safety device for a miter saw, and I can’t recommend it enough. If it’s sold out when you check, keep checking back—it’s that good.
Why Ridge Carbide Blades Are a Game-Changer
While we’re on the topic of miter saws, let’s talk about blades. Ridge Carbide blades are the unsung heroes of woodworking. They’re sharp, durable, and surprisingly affordable compared to other premium brands. Once you switch to Ridge Carbide, you’ll never go back to cheap blades. Trust me, your cuts will be cleaner, your tools will last longer, and you’ll wonder why you didn’t make the switch sooner.
If you’re ready to step up your woodworking game, use the link above and take advantage of the discount code. You won’t regret it.
Watch the Full Breakdown
To see these tips in action, check out the original video from Stumpy Nubs (James Hamilton) below:

Join the iNthacity Community
What do you think of these miter saw tips? Did any of them surprise you? Share your thoughts in the comments below, and don’t forget to become part of the iNthacity community. We’re a vibrant group of makers, thinkers, and dreamers, and we’d love to have you join us. Like, share, and participate in the debate—because woodworking is better when we do it together. Let’s make iNthacity the Shining City on the Web!
Wait! There's more...check out our gripping short story that continues the journey: The Warriors of Huacachina

Disclaimer: This article may contain affiliate links. If you click on these links and make a purchase, we may receive a commission at no additional cost to you. Our recommendations and reviews are always independent and objective, aiming to provide you with the best information and resources.
Get Exclusive Stories, Photos, Art & Offers - Subscribe Today!
Related posts:
 The Clever 10-Second Woodworking Trick I Use to Impress People with DeWalt Tools
 Never Worry About Woodworking Clamps Again with DeWalt’s Top Tools and Tips
 10 Ways to Get BANNED from a Woodworking Shop Forever: Avoid These Mistakes with DeWalt Tools
 When DeWalt Table Saw Safety Goes Too Far: Essential Tips and Insights
 Stop Using These Dangerous Table Saw Accessories Immediately – DeWalt, Bosch, and More Brands to Avoid


Post Comment
You must be logged in to post a comment.